Showing posts with label Artbooking. Show all posts

Monday, September 1, 2014

Stars and Stripes Challenge

Hey everyone!  It's time for a Bitten by the Bug 2 challenge!  This week Brenda has chosen a patriotic theme in honor of 9/11 coming up.  She would like us to use stars and and stripes to honor those men and women who risk their lives for our freedom from the military to law enforcement to fireman.  We just want to create a project to show our appreciation.
I created a quick card using Artbooking, and I really like how it turned out.


Supplies:
Artbooking for stars and star border
Cardstock from Papertrey ink and Recollections
White gel pen
Swiss dots Cuddlebug folder
Pattern paper from my scraps

So we hope you'll join in on the challenge over at Bitten by the Bug 2!!

Monday, August 18, 2014

"Sun" Challenge

Hello everyone!  I'm back this week to share a "sunny" layout with you all for this week's Bitten by the Bug 2 challenge.  This week is super easy!  All you need to is use a "sun" die cut from a Cricut cartridge.  
I knew exactly what I wanted to do for this one!  I have a ton of summer photos of my kids, so I of course made a layout!  
I used Artbooking, and I must say that I LOVE this cartridge!  The possibilities are endless!  I combined these cuts from different pages in the book.  I love how it came out!  

Sizing is a bit tricky with this cartridge, but by using Cricut Craftroom, I can easily see the size I need for a 12 x 12 layout.  
Most of the background cuts were sized at 10.5 in.

So we hope you will join us this week for another fun challenge over at Bitten by the Bug 2!

And if you are in the mood for dinner and dessert, check these out over on my food blog:


Monday, July 21, 2014

Look Whoo's Here!!

Hey everyone!  It's been a few weeks since my last post, and I have some exciting news!  We finally welcomed our 4th child, Landry Miles on July 10th.  He was 8 lbs and 20. 5 inches long.  He's just so sweet too!  Seriously, he is the best baby!  He only wakes up one time at night to eat, and all the noise from the other kids really doesn't bother him too much. We are so blessed!

I'm also excited because he is 11 days old, and he already has his first scrapbook page!  That is a record for me!  I made this layout for the Bitten by the Bug 2 Owl challenge this week.  All you need to do to join in is create a card, project, or layout with a owl Cricut cut.     


I kept my project super simple with by using an Artbooking pre-designed page.  I skipped out on using the overlay, and I decided to add his name to the top.  I really like how it came out.  (You might notice I forgot to finish the little owl's eyes).  Whoops!
The photo mats are 4 x 4.  All cuts are 11 inches except his name, which is cut at 1.5 inches.
Pattern paper is from K&Co. Snuggle Bug stack.  Solid cardstock is Recollections.

So we hope you will join us this week over at Bitten by the Bug 2!

And I wanted to share some photos of all the excitement:


The kids have been really good with him.  They love to hold him!  It's definitely never a dull moment lately!

Monday, June 23, 2014

Summer Fun Cricut Challenge

Hey everyone!  It's time for a new challenge over at Bitten by the Bug 2!  This week is a Summer Fun theme using your Cricut cuts, which has to be one of my favorite things to scrapbook.  So of course, I decided to do a summer layout of my two older kiddos when they were 3 and 2.  I remember thinking how those days were crazy, and it is hard to believe I am about to be there again except with 4 kids this time!!  Two kids at 3 and 2 seems pretty simple right about now. 

For my layout I used two of my favorite cartridges:
Simply Charmed (Such a good year-round cartridge)
and 
Artbooking (Great for year-round with awesome titles)


Title:  Artbooking cut at 11 inches
Sun:  Simply Charmed cut at 4 inches.


Ice Cream and popsicles are from Simply Charmed and cut at 4 inches.


Face Stamps are Peachy Keen Happy Lashes Assortment set(one of my favorites)


Journaling card came from paper stack

Pattern Paper-Echo Park Summer Days 
Solid cardstock -  Recollections
chalks for inking edges
white gel pen for title

Baby Update:  Right now I am 36 weeks pregnant and cannot wait to be done with being pregnant.  I'm swollen, not sleeping well, and just pretty miserable.  I start my weekly check ups this week, and I am anxious to see if I've made any progress.  Even though this is my fourth child, I am still so nervous and praying for a healthy baby boy.  

On my food blog, I've put together a great round up of summer lunches to beat the boring lunch rut I sometimes have.
20 Easy Summer Lunches
And these really are the Ultimate Chicken Salad Rollups perfect for showers, picnics, vacations, or just a good lunch.


Monday, June 16, 2014

Graduation Challenge

Hello everyone!  It's time for a new challenge over at Bitten by the Bug 2!  This week we are challenging you to make something with a graduation theme.  You can make a card, layout, or papercraft using a Cricut cut with the graduation theme in mind.  
For my project I wanted to make a graduation card for a young man, so I wanted to keep it relatively simple.  I used his school colors too.  As soon as I saw the overlay in the Artbooking cartridge, I knew exactly what I wanted to do.  This card would be really easy to mass-produce if you have multiple graduates.  
The card base is 5 x 10 folded to be a 5 x 5 card.
The overlay from Artbooking is sized at 4.75 x 4.75 using the Cricut Craftroom.
The numbers are cut using the Cricut Craftroom Basics file available to everyone for free.
I ran them through my cuttlebug using the swiss dots folder.
The striped paper is from Recollections Basic Bold Stack.
Solid cardstocks are Recollections.
The inside contains a white 4.75 x 4.75 mat with a "Congrats" sentiment.

So we hope you will link up your graduation theme projects this week over at Bitten by the Bug 2!

And if you are a lemon lover or know someone who is, I have some lemon treats to share over on my food blog:  Diary of a Recipe Collector.


Lemon Burst Muffins


Have a great day!

Monday, April 14, 2014

Easter Challenge

I've got a quick and simple layout to share with you all.  This week Bitten by the Bug 2 is hosting a challenge where all you have to do is post an Easter project made using your Cricut.  
I decided to make a layout for my youngest daughter's first year album.  I have the most precious pictures of her from that day.  I have to start moving faster with my layouts, and I was pretty proud that I made this one very quickly. 
The eggs are cut from Create a Critter 2.  I ran the pink and the purple through my Cuddlebug.  I embellished the green ones with buttons and rhinestones.

The other cuts are from Artbooking.  I ran the flower border though my Cuddlebug also.  
Supplies:
Artbooking-"First," "Easter," and Flower Border
Create a Critter 2-Eggs (Shadow)
Divine Swirls and Polka Dots Cuddlebug folder
White Gel Pen
Chalk and Versa Magic Ink for edges
Buttons and Rhinestones
Recollections cardstock
Pattern paper-K & Co. Snugglebug stack

We hope you will join us at Bitten by the Bug 2 and link up your Easter project.
Here's a look at the finished project:

I'm entering this layout in the following challenges:
And if you are looking for some thing sweet this week, head over to my food blog to get these recipes.
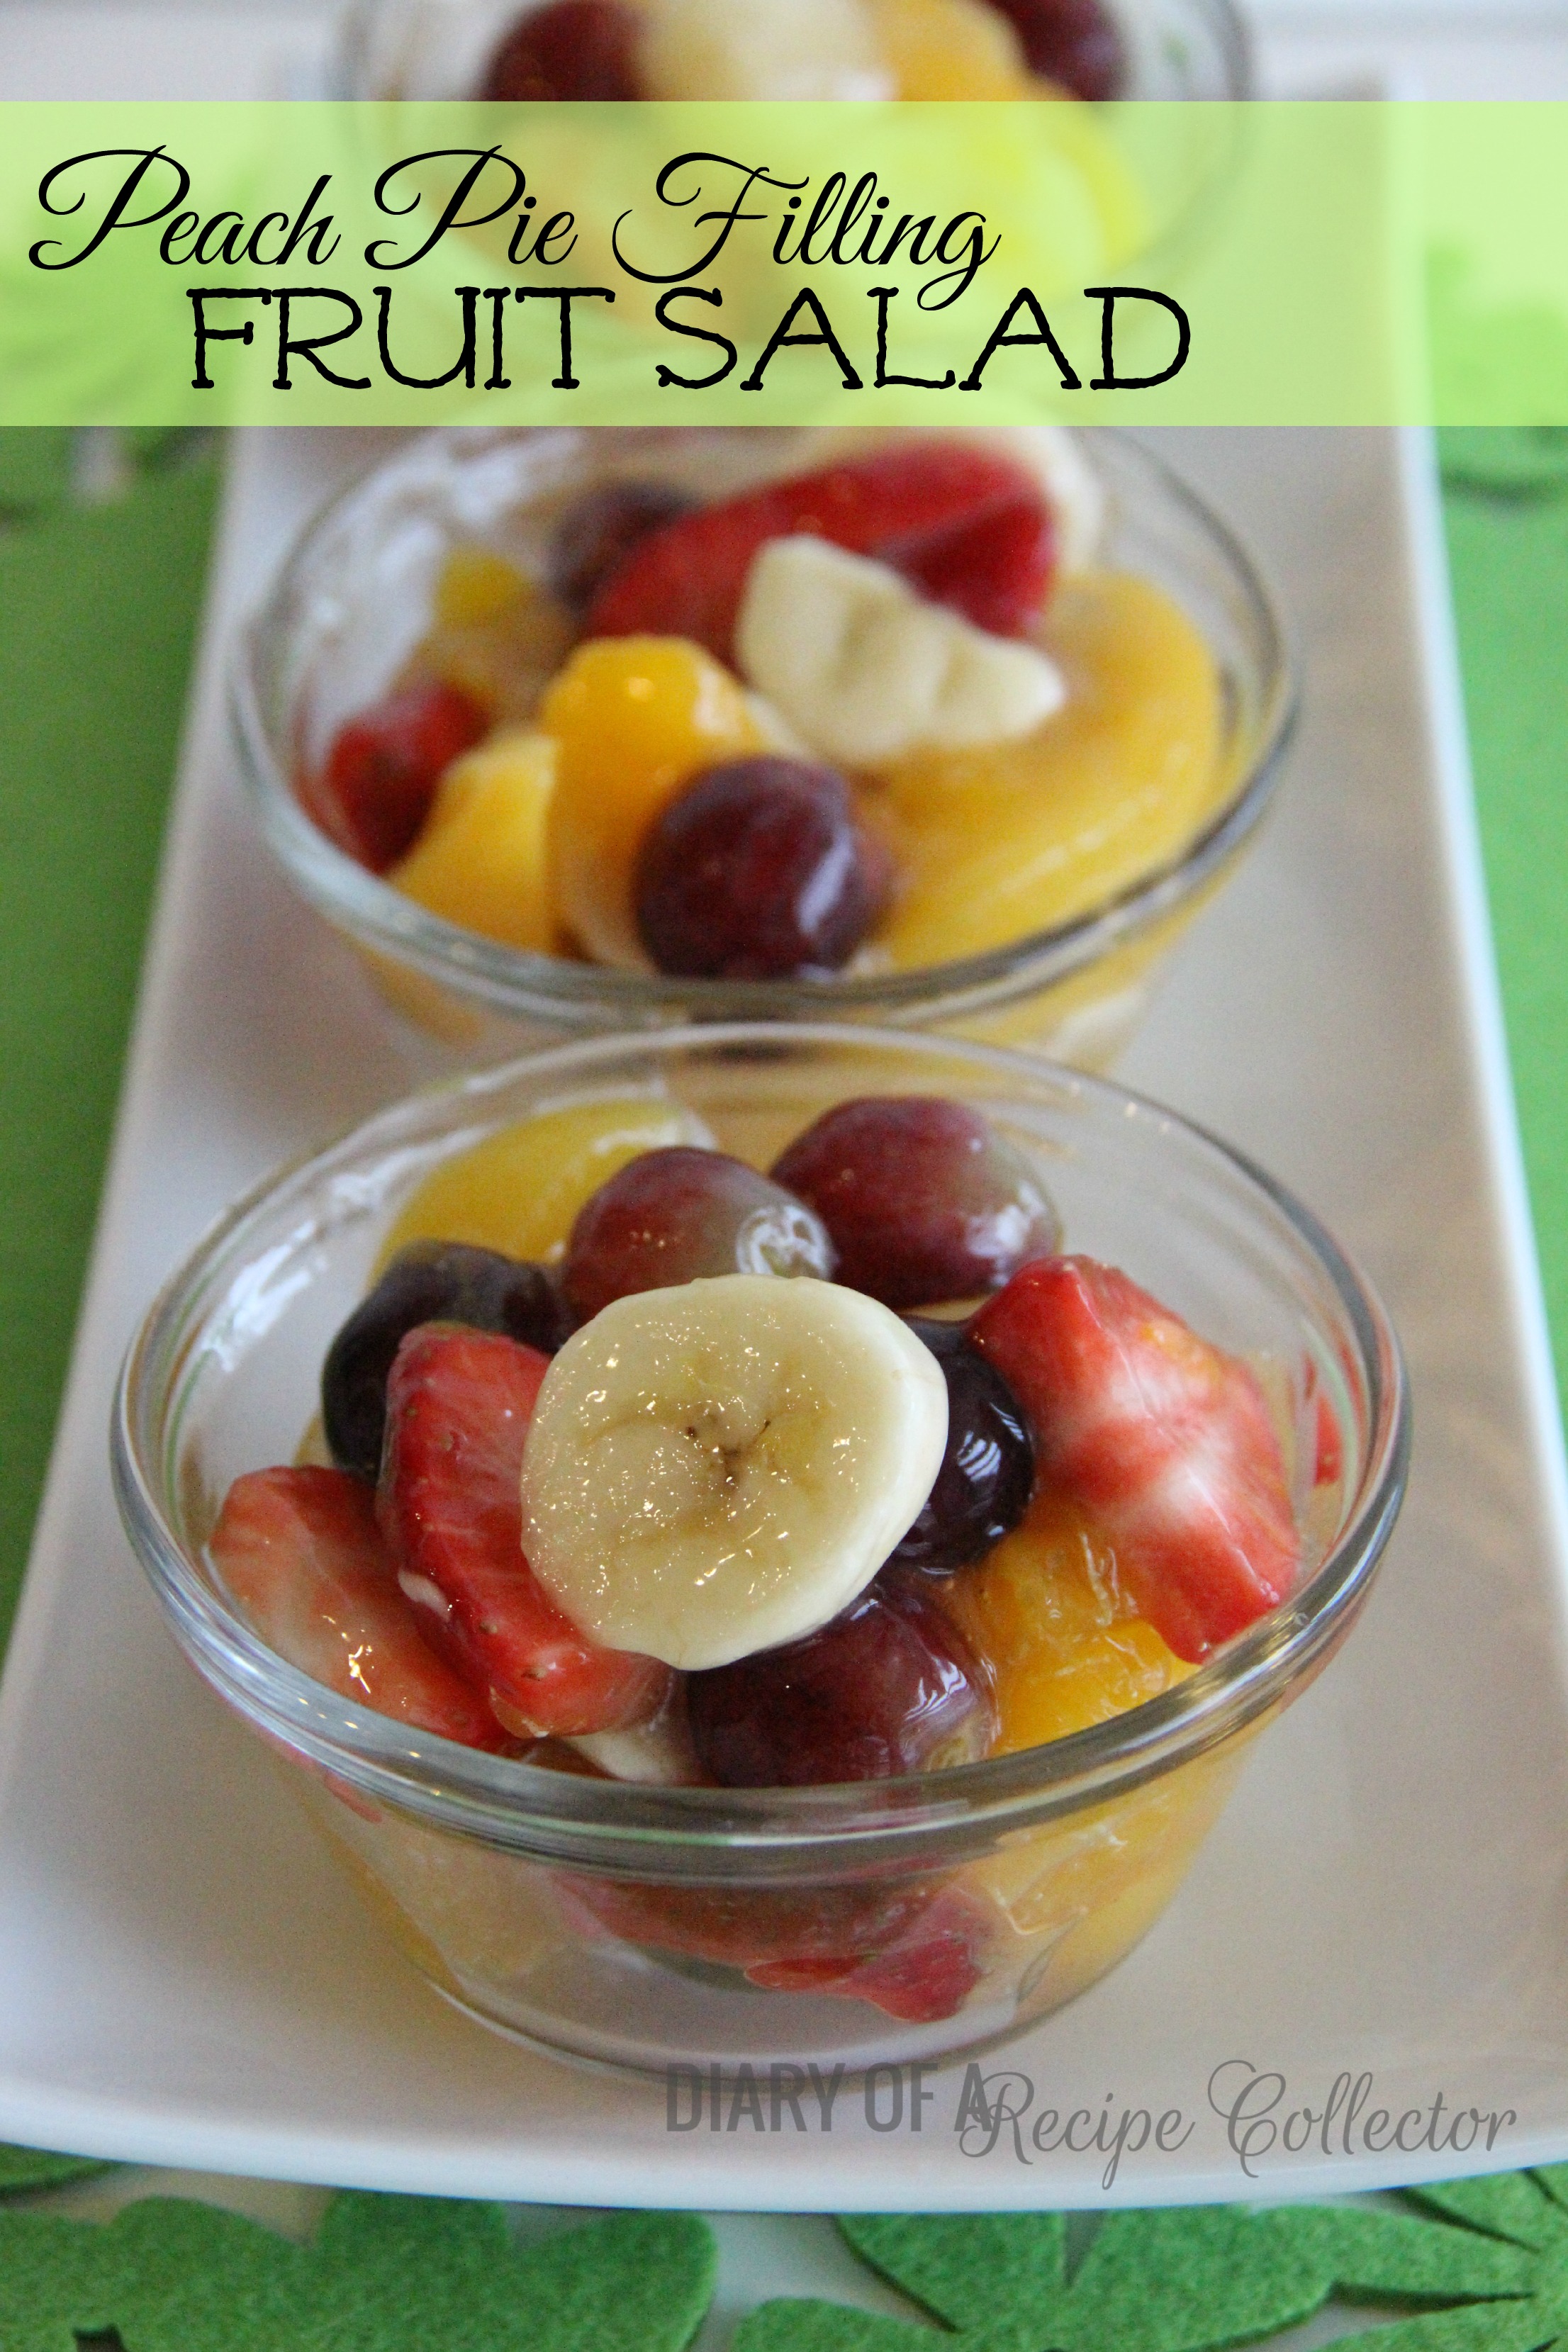
Peach Pie Filling Fruit Salad


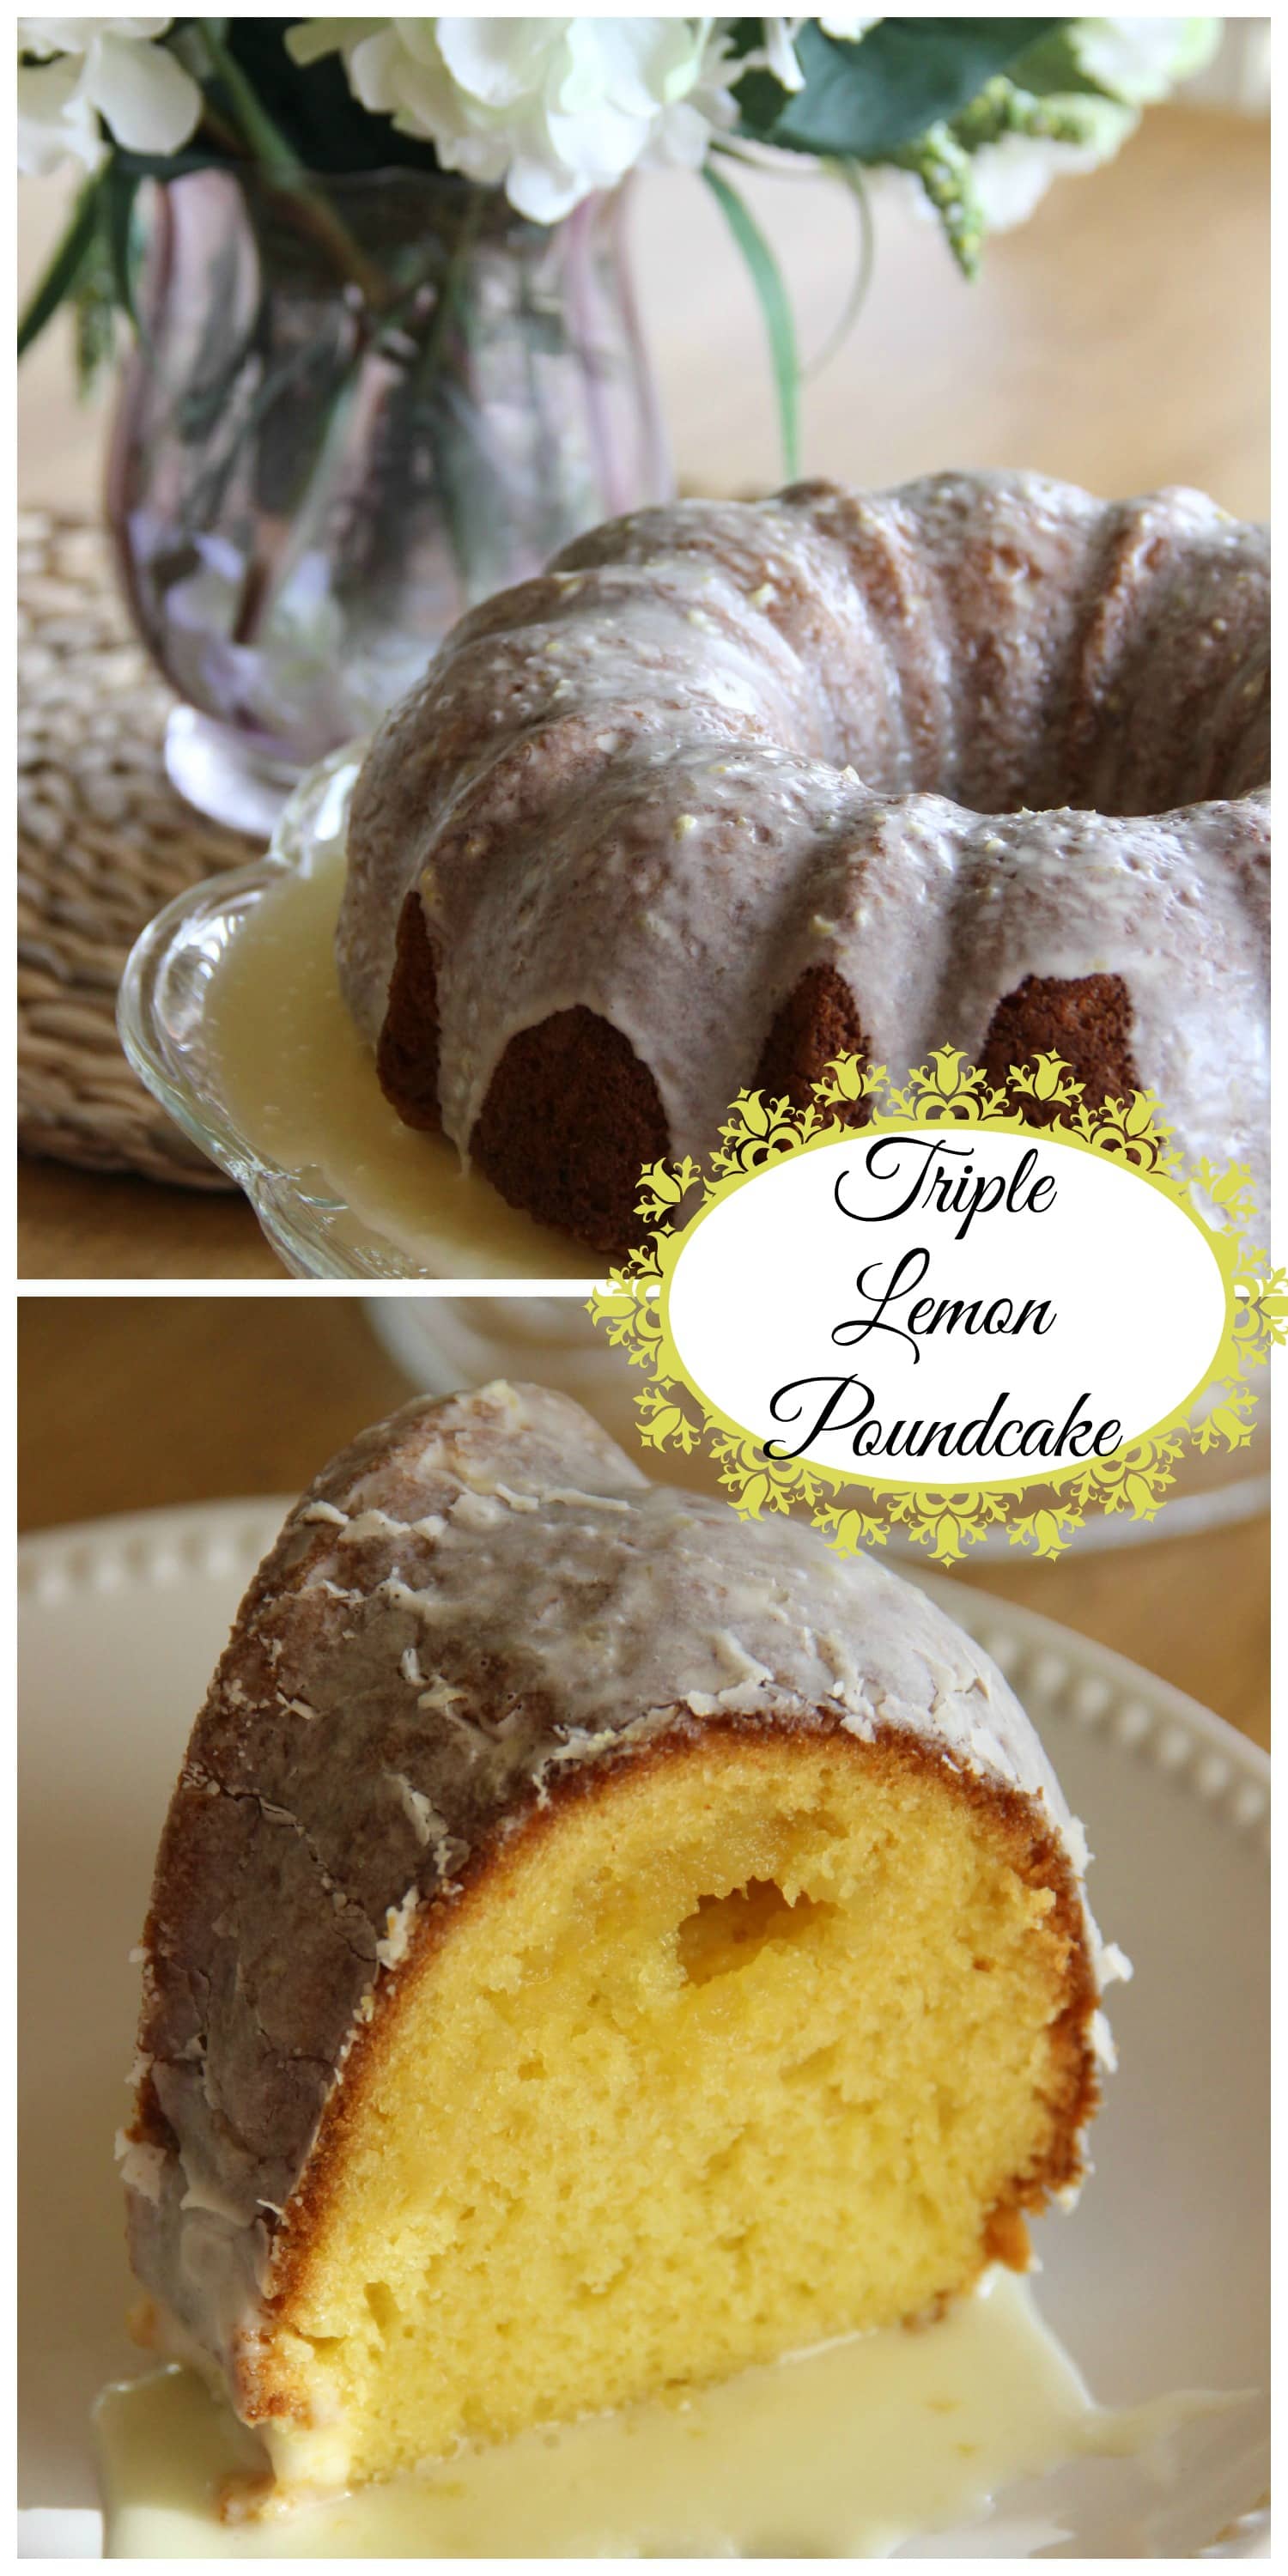
Triple Lemon Poundcake


Monday, April 7, 2014

Bunny Challenge

Hello everyone!  It's time for a new challenge over at Bitten by the Bug.  This week we are creating projects, cards, or layouts featuring a bunny cut with your Cricut.  I decided to get a start on Easter treat bags for my kids' classes.  I bought some bunny graham crackers at Walmart.  I thought they would be perfect for treat bags.  
I was determined to make this easy since I am making 51.  I didn't pick anything with a lot of layers.  
I started off by picking a photo mat from Artbooking to use as my topper.  I cut the bunny from Holiday Cakes and the carrot from Create a Critter.

I used the craftroom to help me with my sizing and to layout several cuts on a page.  
For the photo mat, I glued the layers then I scored it at 2.5 in. to fold it to make a topper.
I also used Auto-Fill for my bunny cuts.  You can adjust this to whatever size paper you are using.  
I usually cut everything out and then I start layering and putting together my treat bags in an assembly line to go a little faster.  
So 46 more to go this week!
Supplies:
Artbooking Cartridge:  Frame cut at 6 in.
Holiday Cakes Cartridge:  Bunny 1.5 in.
Create a Critter:  Carrot 1 in.
Recollections cardstock and pattern paper
CTMH black ink
chalk
And after I finished a few treat bags, we finally put up Easter decorations and had some of this:
And it was soooo good!

We hope you'll join us this week over at Bitten by the Bug 2 with your Bunny Project.
I'm also linking up with:

Here are some other treat bag ideas too:

Bunny Bait Bags- This was my first post ever!

And on a busy week, you might be hungry for some goodies over on my food blog:

IMG_5592a
Y'all have a great week!


Monday, February 17, 2014

July 4th Flag Race Layout

Hey everybody!  I have a very quick layout I put together for Bitten by the Bug's Patriotic Challenge in celebration of President's Day.  I used the Artbooking cartridge for the first time, and I think I am in love!!!  It just made this layout so easy.  There were so many elements to choose from, and I could have added a little more .  However, I am happy with how it came out, especially with the finished photos on the layout.  

So what is a "Flag Race?"  Well this was something fun we did with the kids last 4th of July.  I promise the adults had just as much fun as the kids!!!  It was basically a relay where each team tried to be the first to transfer all their flags back to the start line.  SO FUN!  I found it on Pinterest.

So we hope you will join us this week and create something Patriotic using your Cricut.  
July 4-comes from Designer's Calendar
All other cuts are from Artbooking
For those of you who have a major eye for detail, you may have noticed my lower left star mat is different from the rest...GRRR!  I later fixed it.  LOL!
Using the Cricut Craftroom, I found the Artbooking cartridge fairly easy to size.  
I basically design the whole layout in the craftroom.  I use the Cricut Craftroom Basics to create the colored mats I need to test out my colors and sizes.  I sized the star photo mats at 11 inches as the handbook suggests for a 4 x 4 photo mat.
I sized the overlay at 9 inches instead of 11 inches as the handbook suggests.

And here is the finished project...
Now let me share my little mishap with you that I now know not to do when working with these Artbooking photo mats.  Please don't be a goof like me and glue down the 4 x 4 star photo mats all the way before putting your photos down.  I had to peel them off and re-cut them to put my pictures down.  My pictures are sized at 3.5 x 3.5 which fit perfectly under the 4 x 4 star mats.

So we hope you will join us this week over at Bitten by the Bug!!