Tuesday, August 20, 2013

First Day of Pre-K

I have a first day of school layout to share.  I wanted to use non-traditional colors for it.  I picked my daughter's favorite colors, purple and pink!  


I got this idea a few years ago from a great blog, Scrappin Cricut by Kendra Wiggins.  Here's her layout, which I absolutely love!
She used Cuttin Up for the font and Locker Talk for the cuts.

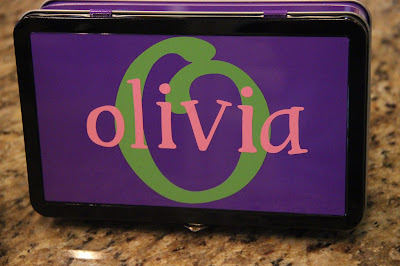
For my layout, I used Storybook for the font and Simply Charmed for the cuts.  
I used purple stickles for the scissors and some pink twine.


As you can probably see on the "R" I had a little friend try to do her own artistic work while I wasn't looking!  I decided not to redo it, and I thought it was kind of appropriate since it is her scrapbook she will share it  with her family one day.  
 
For the dash, I used a frame and manipulated the size in my gypsy to be .75 inches high and 1.65 inches wide.  Then I just made a shadow a little bigger.

Supplies/Details:
Font-Storybook-2.35 in.
Other cuts-2.25 in.
White gel pen
Purple stickles
pink twine
gem sticker
Recollections cardstock
pattern paper for photo mats from my stash

Here is the finished layout with pictures:
I hope to share some more school layouts with you soon.

Also if you're looking for a good back-to-school gift for your child's teacher, here's an idea:


Saturday, August 10, 2013

Monogrammed Tin Homework Cases

I wanted to share my little project I made for my kids for this school year.  I love when I find something that I can put a vinyl monogram on!!!  I picked up these little tin boxes in the school supply section at Walmart recently.  They were perfect for putting a name on them!  I used my Cricut and the Cricut Craft Room, but you can just as easily use a Silhouette if you have one.
 
These will not be used for school, but they will serve as a "homework box" at home.  Each child will keep their pencils, colors, scissors, glue, etc. in their box.  That way when it is time to sit down and do homework, hopefully we will not waste time trying to find their pencil and colors.  It will all be in one spot much like they have at their desk at school.


I used the Cricut Craft Room instead of my gypsy to get the sizing right.  I had trouble deciding what colors to use on each one.  By using the craft room, I was able to change the colors on the layers and see what combination I liked best and which way the name and the monogram showed up best.  

For the large monogram, I used Lyrical Letters.  They are cut a little over 4 inches.  For the names, I used the Type Candy Font cartridge.  The names are cut at about 1.75 inches.  With the craft room, you are able to just drag the arrow in the lower right corner of the box to adjust the sizing quickly.   For the names, I clicked and dragged to select all the letters.  I then grouped them together by right clicking and selecting "group."  Here are some pictures of the layering with the vinyl:


Overall, it was really simple, and I think they turned out super cute!

I also have another post which shows step-by-step on how to work with the vinyl:


Monday, August 5, 2013

Space Alien Birthday Card

I wanted to share a little birthday card I made for my friend's daughter.  She had a "Girl-Alien" birthday party at a local space-themed bounce house.  I'm entering it in this week's Peachy Keen:  Anything Goes Challenge.  I love any opportunity to use my Monster Mash Assortment stamps!  I also made a little video!  See below for all my supplies I used:


Supplies:
Mini Monsters Cricut Cartridge for monsters/aliens cut at 1.75 in.
My Craft Spot-Build a Valentine Set-
Scrappy Moms-Simple Sentiments for inside of card
My Pink Stamper-Simply Sweet Occasions for stars
Cardstock-Papertrey Ink and Recollections
Recollections White Embossing Powder

Have a great day!