Showing posts with label Type Candy Font. Show all posts

Saturday, October 19, 2013

"Witch" Way to the Candy? Layout

Hey everyone!  I'm back sharing another Halloween layout.  I'm kind of sad October is almost over because I love creating Halloween layouts!  This one was my favorite to make so far.  I'm entering it in some challenges, and you can check out my video below.  
So my usual scrapbooking process is to create a layout after I have pictures.  However, this layout is designed for Halloween for this year.  That's a big deal for me!  I guess we'll see how it goes, and hopefully I'll have pictures to fit the mats I made.  
My inspiration for this layout is my daughter's Halloween costume this year.  She's going to be a "good" witch with sparkles and purple hair.  So I created a layout with a witch's accessories:)
Cuts are from Mini Monsters and Happy Hauntings and embellished with Stickles and Recollections glitter with the help of my Xyron sticker maker.
Video:
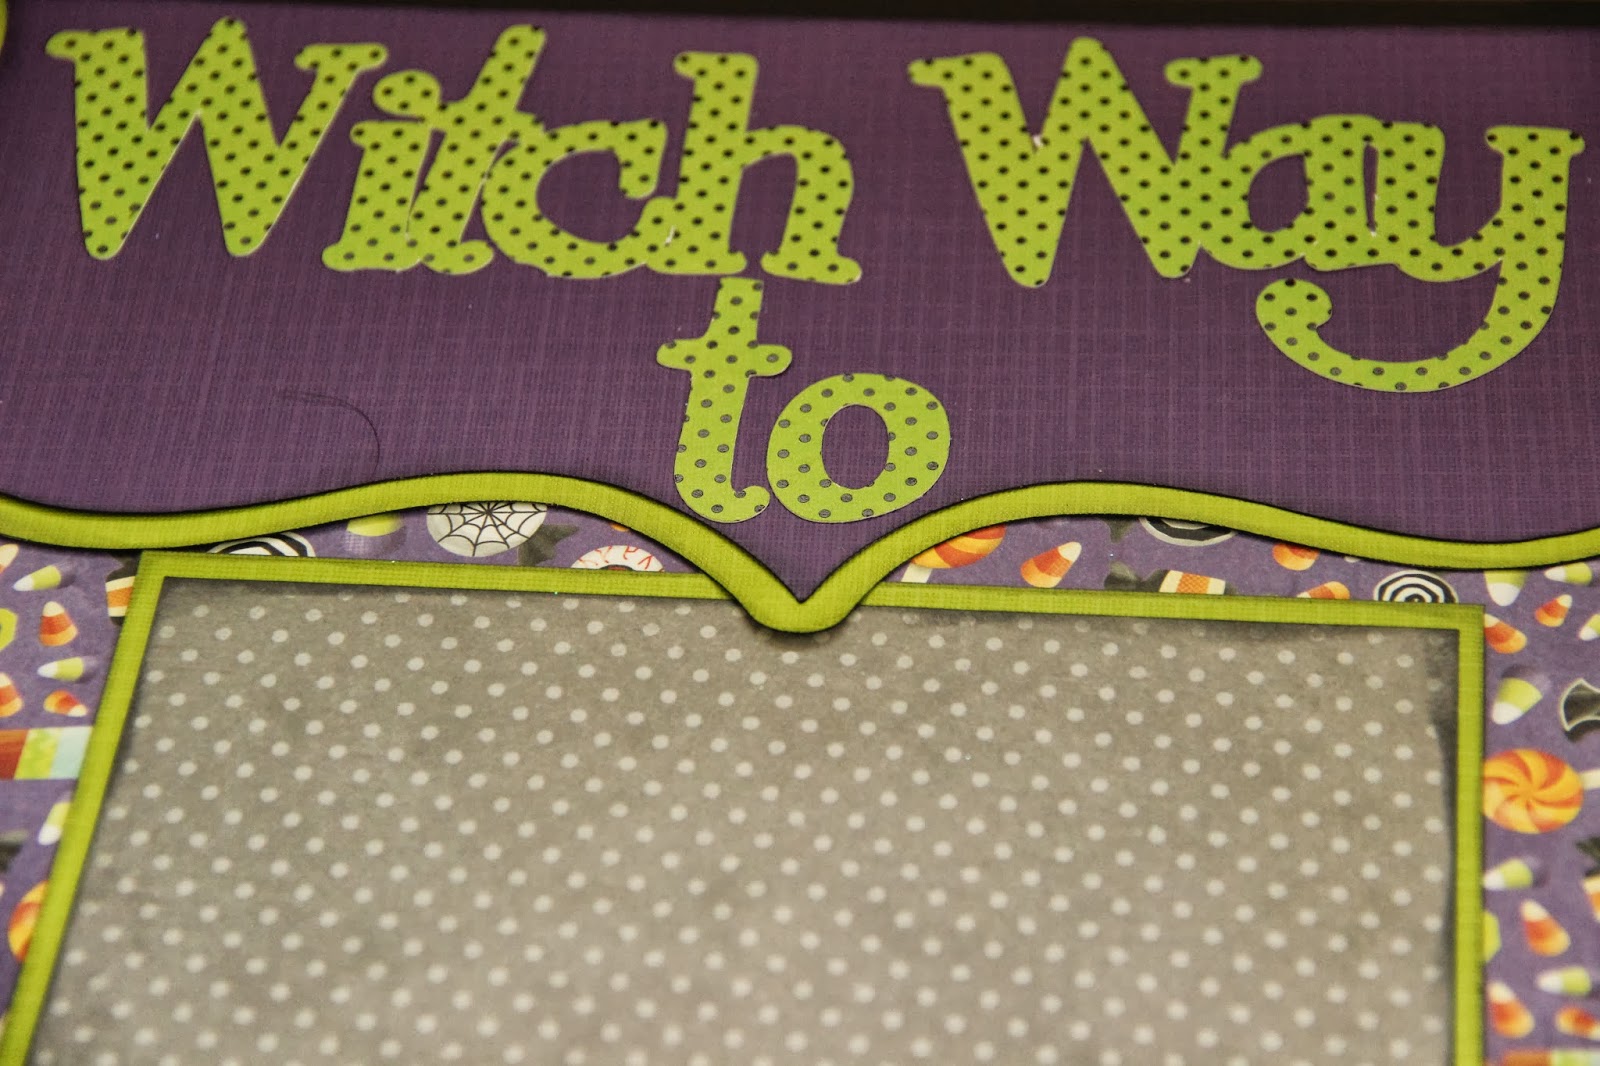

Type Candy for the font 
Supplies/Details:
Hat and Broom-Mini Monsters-2.75 inches
Shoe-Happy Hauntings-3 inches
Title-Type Candy-2 inches
Elegant Edges-10.5 inches
Recollections card stock and glitter
K & Co. card stock
Xyron Sticker Maker
ribbon
Stickles (Lavendar, Lime Green, and Scattered Straw)

I'm entering this layout into the following challenges:
Fantabulous Cricut-Black and Purple
Just B Creative Crazy-October Linky Party
3 Girl Jam-Anything Halloween with Ribbon
Paper Issues-Halloween Hootenanny
Ribbon Carousel-Halloween
CardzTV-Ghost and Goblin Party

And I just wanted to share a project from last Halloween too.  I made these little treat bags using Mini Monsters.  Check out the link below:

And if you are in the need of a great and easy weeknight supper idea this week, check out these Taco Calzones from my foodie blog. 


Saturday, August 10, 2013

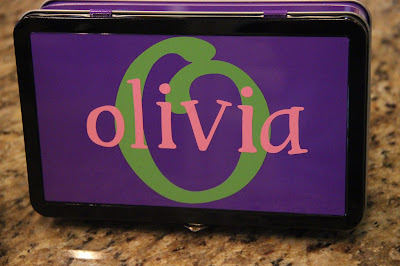
Monogrammed Tin Homework Cases

I wanted to share my little project I made for my kids for this school year.  I love when I find something that I can put a vinyl monogram on!!!  I picked up these little tin boxes in the school supply section at Walmart recently.  They were perfect for putting a name on them!  I used my Cricut and the Cricut Craft Room, but you can just as easily use a Silhouette if you have one.
 
These will not be used for school, but they will serve as a "homework box" at home.  Each child will keep their pencils, colors, scissors, glue, etc. in their box.  That way when it is time to sit down and do homework, hopefully we will not waste time trying to find their pencil and colors.  It will all be in one spot much like they have at their desk at school.


I used the Cricut Craft Room instead of my gypsy to get the sizing right.  I had trouble deciding what colors to use on each one.  By using the craft room, I was able to change the colors on the layers and see what combination I liked best and which way the name and the monogram showed up best.  

For the large monogram, I used Lyrical Letters.  They are cut a little over 4 inches.  For the names, I used the Type Candy Font cartridge.  The names are cut at about 1.75 inches.  With the craft room, you are able to just drag the arrow in the lower right corner of the box to adjust the sizing quickly.   For the names, I clicked and dragged to select all the letters.  I then grouped them together by right clicking and selecting "group."  Here are some pictures of the layering with the vinyl:


Overall, it was really simple, and I think they turned out super cute!

I also have another post which shows step-by-step on how to work with the vinyl:


Friday, May 31, 2013

Apple Layout


Sometimes I get in such a rut when I try to think of layout ideas.  Thank goodness for all the Pinterest inspiration.  This layout, however, came to mind really quickly and came out just like I wanted!     
The apple comes from Create-a-Critter.  I used my gypsy to plan out how I wanted it and to see how big my apple needed to be and hid the facial features.  I ended up sizing the apple at 12.09 in. The photo mat for my pictures is 7 5/8 by 8 1/8. 
Supplies:
Create-a-Critter-Apple cut at 12.09 in.
Type Candy Font Cartridge-letters cut at 1.75 in.
Recollections cardstock and patterned paper
brown chalk
white gel pen
button
Stamp-Scrappy Moms-Picture Perfect set

Overall, it was a super quick and simple layout to create.  I love it when that happens!

Thursday, January 10, 2013

Swimming Lessons Layout


Here is a super simple layout I put together last night.  I used the Life's a Beach cartridge and Type Candy Font (love it).  It was really fun to create and put together.  It is for my oldest daughter's first swimming lessons.  Here it is with the pictures and other details.


Supplies:
Title-Type Candy Font cut at 1.5 in.
Pink/yellow fish cut-Life's a Beach-cut at 3 in.
Green fish- Life's a Beach-cut at 2.5 in.
Dark blue waves cut using gypsy 3.44 (h) x 11.53 (w)
Light blue waves cut at 1.71 (h) x 11.0 (w)
Larger bubbles-Cut circles from Plantin School Book--- 
1.5 in dark blue shadow with white circle cut at 1.25 in.
Smaller bubbles-1 in dark blue shadow with white circle cut at .75 in.
Journaling Bubble-Dark blue shadow-3 in. , white circle cut at 2.75 in.
Patterned paper 3 in. x 12 in. (on each side)
 Cardstock-Recollections
Stickles and gel pens

Thanks for stopping by...